MCP setup
Use DeCyph from Claude or ChatGPT by connecting to our hosted MCP server over HTTPS. Replace the placeholder screenshots below with your own exports when the product UI updates.
MCP server URL
https://www.app.decyph.ai/api/mcpClaude (connector)
In Claude (desktop or web, depending on your plan), add a remote MCP connector and paste the server URL.
Open settings
Open Claude and go to Settings (or your workspace settings).
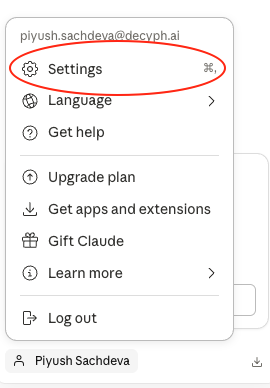
Step 1 — Open settings. Developer or connectors
Find the section for developers, integrations, or Connectors / MCP.
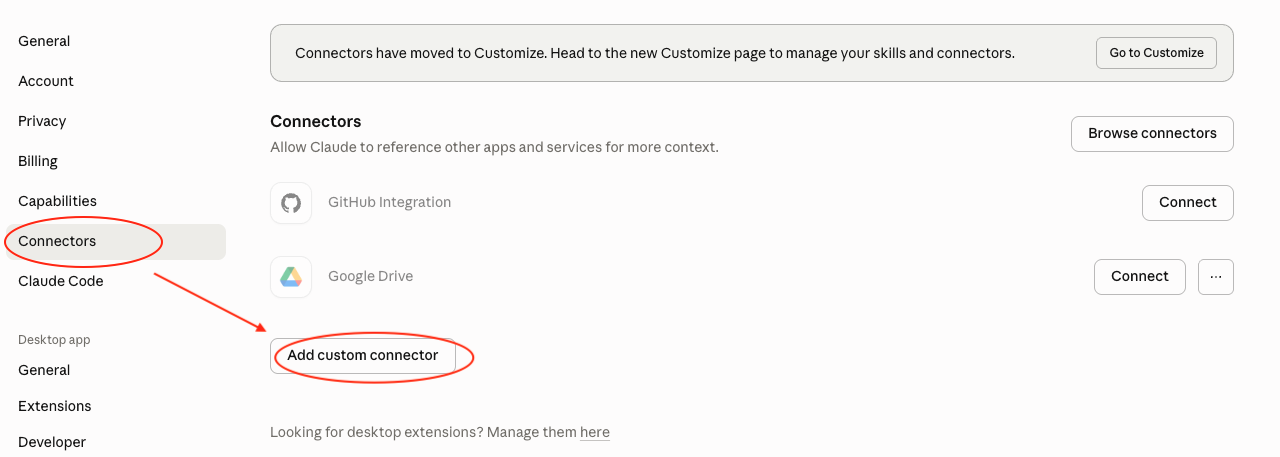
Step 2 — Navigate to MCP / connectors. Add a connector
Choose Add connector, Add MCP server, or similar, then select a remote server over HTTPS if prompted and paste the MCP URL
https://www.app.decyph.ai/api/mcp.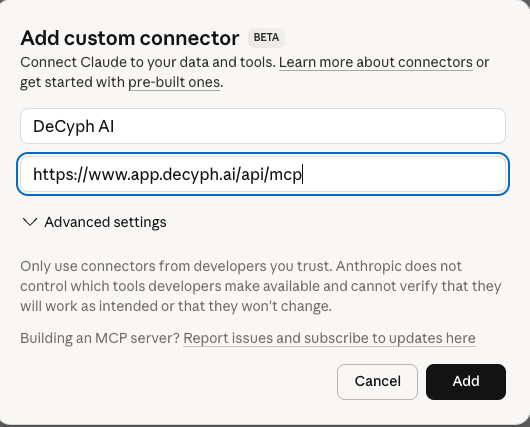
Step 3 — Start adding a new connector and paste the URL. Click connect

Step 4 — Click connect after adding the server URL. Allow access in DeCyph
Sign in to your DeCyph account, then click Allow access to finish authorization.
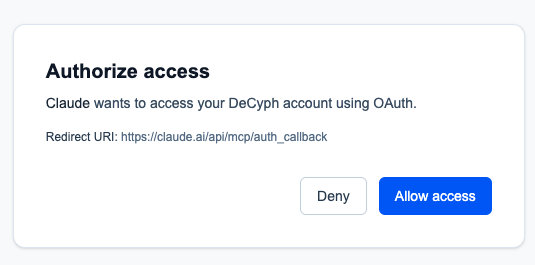
Step 5 — Sign in and click "Allow access". Open Claude when prompted
After authorization, choose to open Claude when your browser prompts you.
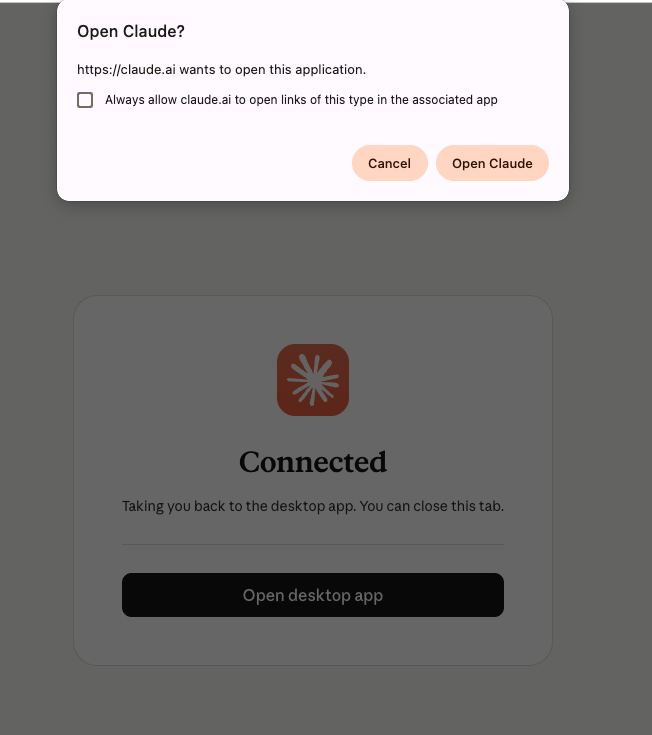
Step 6 — Open Claude when prompted. Connection successful
Success. You can now use this connector in Claude Chat, Cowork, and the app and Excel plugins.
Step 7 — Connector is ready to use.
ChatGPT (app)
In ChatGPT, configure your app to use an MCP server and point it at the same URL.
Open app settings
Open your ChatGPT App (or webpage) and open its settings or configuration screen.
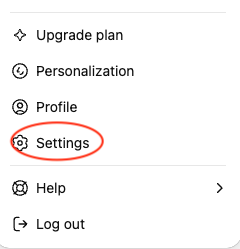
Step 1 — Open app settings. Apps - Advanced settings
Go to Apps -> Advanced settings.
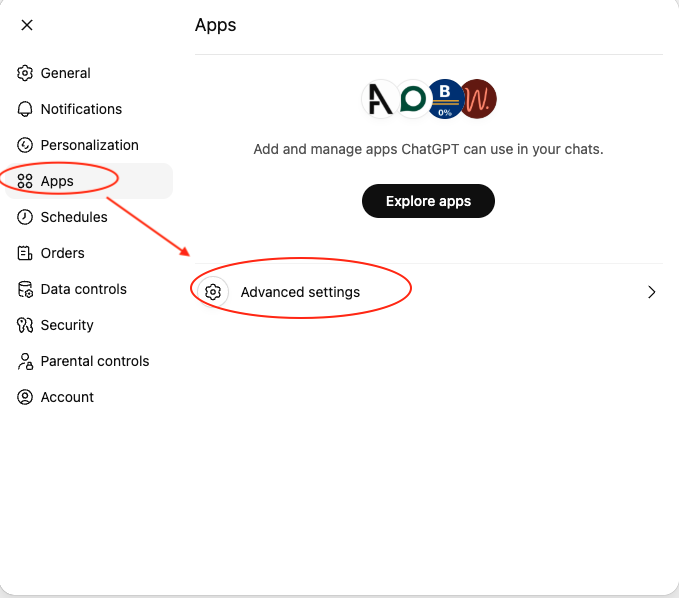
Step 2 — Go to Apps -> Advanced settings. Turn on Developer mode
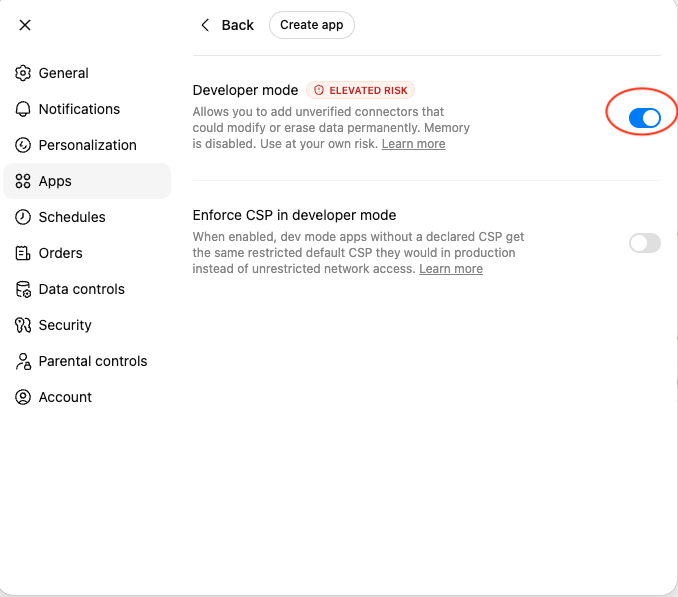
Step 3 — Toggle Developer mode on. Add MCP details
Enter the MCP details, including
https://www.app.decyph.ai/api/mcp, then click Create.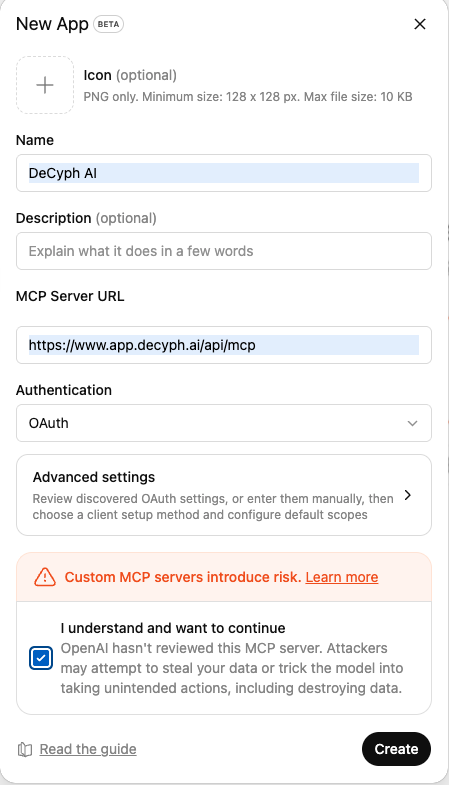
Step 4 — Add MCP details and hit Create. Allow access on DeCyph
Complete authorization in DeCyph and click Allow access.
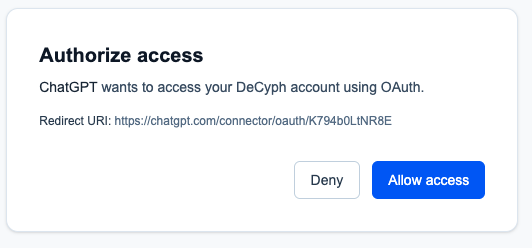
Step 5 — Allow access on DeCyph. Confirm connected status
You will see DeCyph showing as connected in ChatGPT.
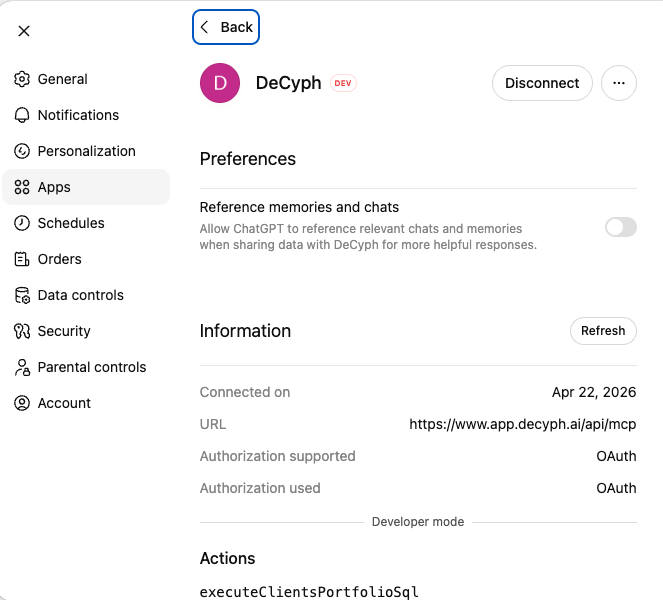
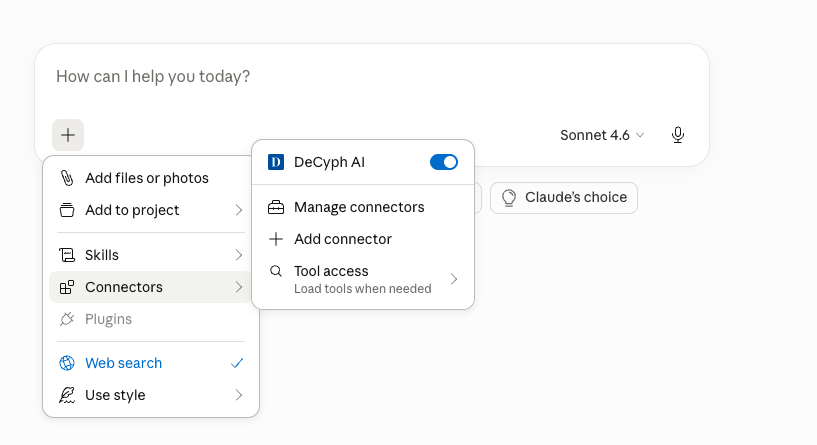
Step 6 — DeCyph appears as connected in ChatGPT. Use DeCyph in chat
Select DeCyph in the dropdown and ask questions on your DeCyph data.
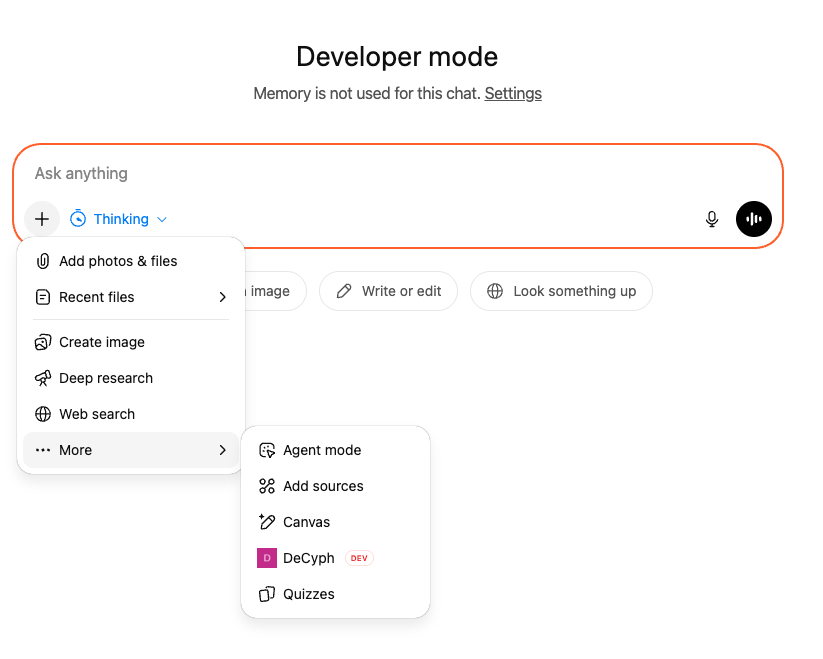
Step 7 — Select DeCyph in the dropdown and ask questions.
Authentication
If DeCyph or your identity provider shows a sign-in, OAuth, or permission screen when connecting, complete that flow in the browser window Claude or ChatGPT opens. Use the same account you use on app.decyph.ai when that is required. For API-style access outside MCP, see API documentation.
Troubleshooting
- Double-check the URL — it must be exactly
https://www.app.decyph.ai/api/mcp(HTTPS). - Network — corporate VPNs or firewalls can block outbound HTTPS to new hosts; try another network or ask IT to allow the host.
- Still stuck — email info@decyph.ai.